Patio Tips
Do-It-Yourself Privacy Screens
There’s nothing more refreshing on a hot summer’s day than enjoying the outdoors, especially when you’ve got a gorgeous backyard and alfresco area that’s all your own. However, some people may experience a loss of privacy in their yard due to nearby roads, nosey neighbours, or old and broken fencing. The good news is that it’s pretty simple to obtain privacy and personal space in your yard with outdoor privacy screening, a simple solution that is easy to install yourself, and adds both style and value to your home in the long run. If you’re the type of person who has plenty of free time and gets a thrill out of saving money and figuring out how to do things, you should definitely give this easy DIY solution a go.
Privacy Screening – Where Do I Start?
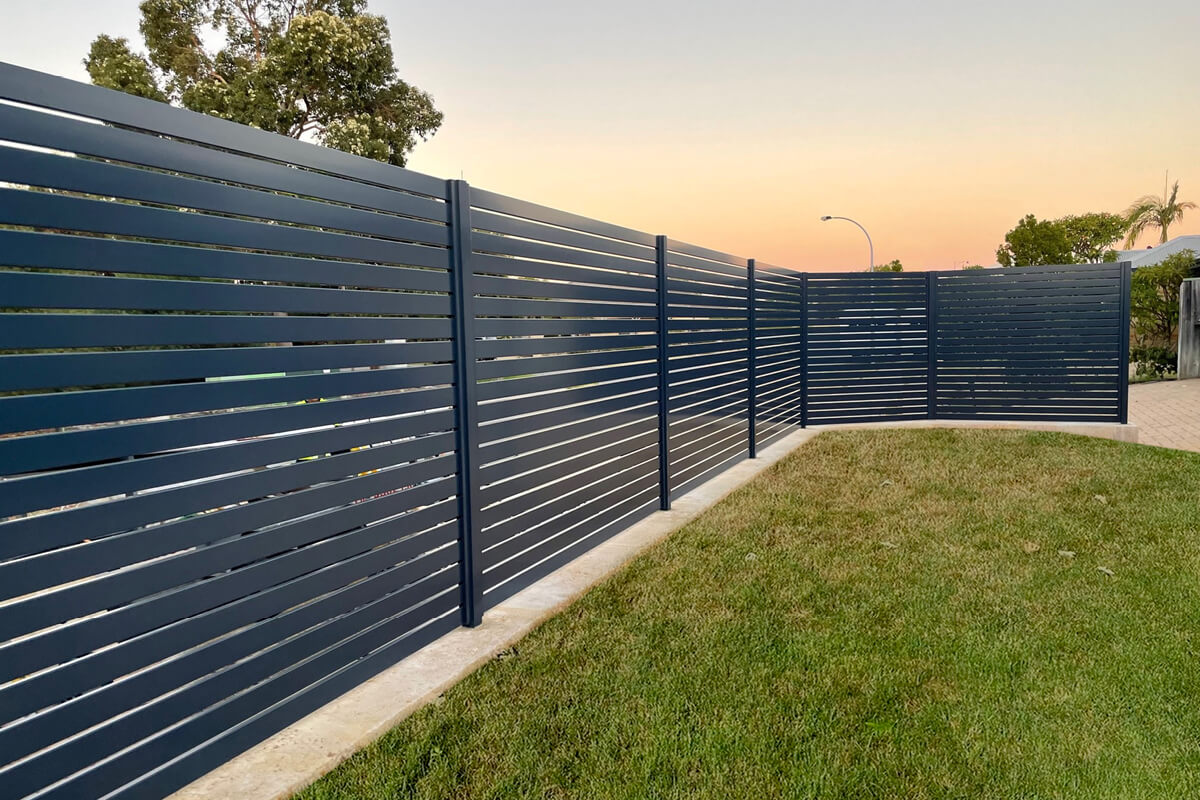
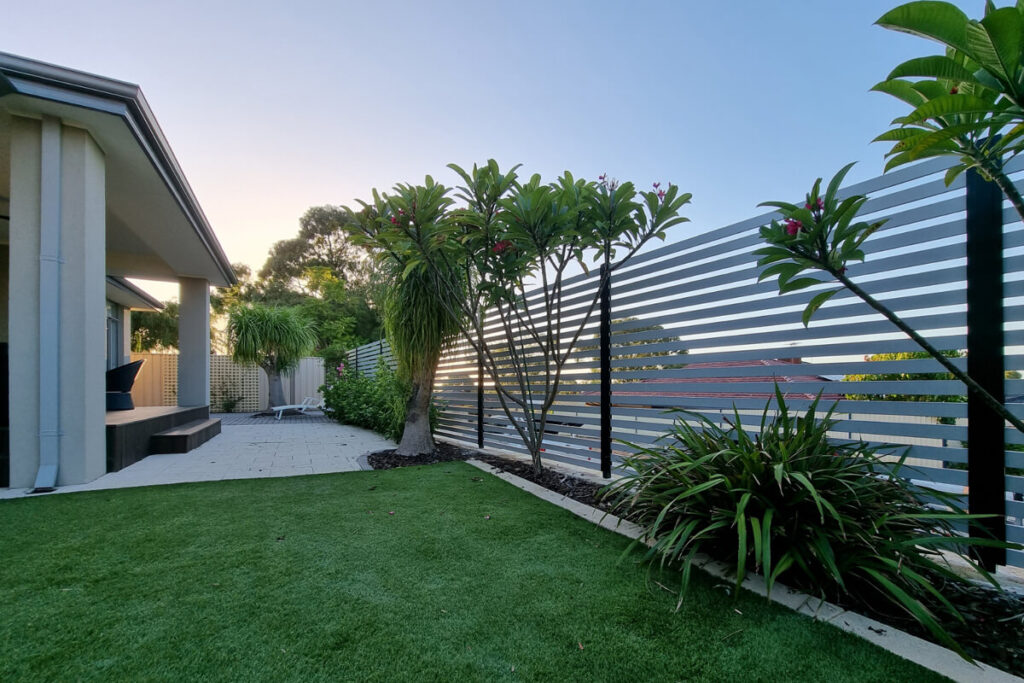
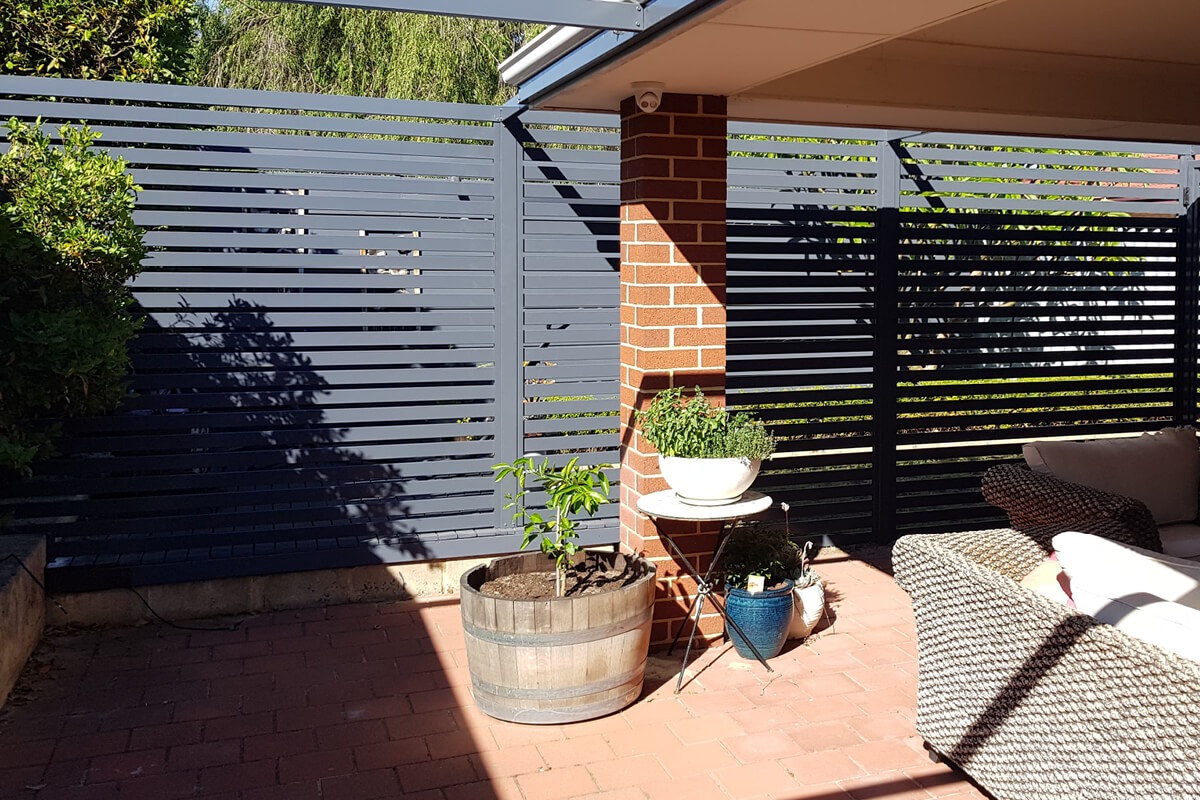
Nothing beats an aluminium screen on your home’s exterior. It provides stylish seclusion from your home’s surroundings while still letting in sunlight and warmth. Aside from this, aluminium screens are pretty easy to construct and offer your home a fair amount of added security. Not only do aluminium privacy screens look amazing, they are also pretty easy to install yourself, with only a handful of materials needed to walk away with a screen that is strong, secure, and stylish.
You’ll need to do a bit of prep work before you get started, so a little checklist of things to do is as follows:
- Determine the plan of your privacy screening
- Calculate the dimensions, most importantly the length of your screening
- Check with your local Government about any building regulations
- Make sure you have all the necessary equipment, especially drills, shovels, measuring tape, and spirit level

Ready to Order
Now that you’ve got a plan in place and your equipment ready, its time to order your privacy screening materials! Luckily for an aluminium slat screen, there aren’t too many items that you need – though you may need a lot of slats based on the length of your screen. You can easily order everything you need for your privacy screening right here from our online store, or if you’re unsure you can give us a call and we’ll be happy to help go through everything you will need and to offer our expert advice on how much to order.
To build your own privacy screening, you’ll need:
- Aluminium Posts
- Aluminium Channels
- Aluminium Channel Covers
- Aluminium Slats
- Plastic End Caps
- Concrete
- Screws
- String, and
- Spacer
How To Install Your Privacy Screening
Now that you’ve got everything you need to start your privacy screening and a plan in place, it’s time to start construction! Often the most daunting part of the process, you can rest assured that we’re on hand to give you the best advice through the process, and you’ll notice that once you start, the actual assembly is very straightforward and not as hard as you think, no matter your level of DIY know-how.
The key to a successful home project is to take your time, be meticulous, and not to rush over any steps. It’s easiest to take your time and do things right the first time, rather than cut corners and have to redo incorrect work.
Once you’re ready to begin, simply complete the following steps:
- Set up the area with stakes and string, with the string on the outside edge of the posts. Mark the locations of the post holes at regular intervals
- Dig post holes at the depth and diameter specified by the manufacturer
- Install the aluminium posts first, spacing them according to the installation manual’s measurements
- Insert a Post into its post hole, aligning its outer side with the string to ensure that it is level and flush with the previous post.
- Using a bubble level and a long straightedge, plumb, and level posts. Brace the posts as needed, and check the posts behind you often until the concrete hardens
- Continue the installation by following the same processes, working carefully, and constantly verifying fence alignment behind your present position
- End Posts should be attached to the walls as needed if not freestanding.
- Attach the channels to the posts with screws, ensuring that they are in the centre of the post so that your aluminium slats line up once they are installed.
- Start placing your aluminium slats into your channels, using spacers between each slat to ensure a consistent gap height.
- Once all the slats are in a section, use a rubber mallet to knock slats down into place firmly, then screw slats into your channel starting at the top and bottom.
- Install channel covers to hide your screws, and finish your post with an end cap before moving on to the next section for a complete finish.
- Add any finishing touches, such as hanging plants, garden lights, bench seating or more, and your now finished!
Once you’ve finished the above, you’ll have your very own hand built privacy screening for your yard, perfect for letting in sunlight while giving your home that added privacy, and the perfect structure to hang plants from, grow vines up, or to use as a hedge screening in the future for even more privacy!
If you’re not too sure of the process, give us a call and we’ll be happy to go over the process with you to ensure you’re ordering the right materials for the job, and that you end up with a privacy screen that you’ll love!


